Changing your nail color doesn’t always mean removing your entire gel manicure. If you’ve ever wondered whether you can apply regular nail polish on gel nails, the answer is yes—and when done correctly, it’s one of the easiest ways to refresh your manicure without starting from scratch.
Whether you’re bored with your current gel color, matching your nails to a special outfit, or simply experimenting with new shades, painting over gel nails with regular nail polish is a practical and budget-friendly option. The key is knowing how to do it properly so you don’t damage the gel underneath or shorten the life of your manicure.
Many people assume that applying regular nail polish over gel nails will cause lifting, peeling, or uneven results. In reality, a properly cured gel manicure creates a smooth, durable surface that works well as a base for traditional nail polish. The regular polish sits on top of the gel layer, allowing you to change colors whenever you like without affecting the original gel application.
In this complete guide, you’ll learn everything you need to know about using nail polish on gel nails. We’ll cover when it’s a good idea, the benefits and drawbacks, the tools you’ll need, step-by-step application instructions, common mistakes to avoid, and expert tips to keep your manicure looking fresh for as long as possible. Whether you’re a beginner or an experienced DIY nail enthusiast, you’ll discover simple techniques to achieve salon-quality results at home.
Can You Put Nail Polish on Gel Nails?
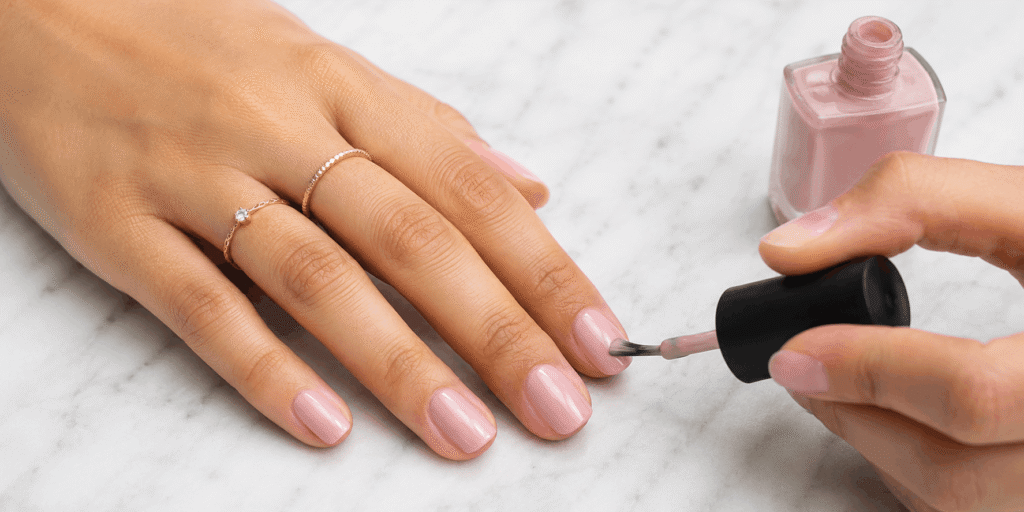
Yes, you can absolutely apply regular nail polish over gel nails. This is a common technique used by both professional nail technicians and people who do their own manicures at home. Instead of removing a perfectly good gel manicure every time you want a different color, you can simply paint over it using traditional nail polish.
The gel acts as a strong, smooth foundation, while the regular polish provides a temporary color that can easily be removed later using a non-acetone nail polish remover. Once you remove the regular polish, your original gel manicure is still underneath, looking almost exactly as it did before.
This method is especially useful if:
- You want a different nail color for a wedding or event.
- You’re trying out a trendy shade before committing to a gel version.
- Your gel manicure is still in great condition, but you’re tired of the color.
- You enjoy changing your nail color every few days.
- You want to save money by extending the life of your gel manicure.
However, there are a few important techniques to follow if you want the best results. Applying polish incorrectly or using harsh removers can reduce the lifespan of your gel manicure.
Why People Paint Regular Nail Polish Over Gel Nails
There are several reasons why this method has become increasingly popular.
1. Change Colors Without Removing Gel
One of the biggest advantages is flexibility. Gel manicures can last two to three weeks, but many people get bored with the same color after only a few days. Instead of removing perfectly good gel polish, you can simply apply a fresh coat of regular nail polish whenever you want a different look.
2. Save Time
Removing gel polish isn’t always quick. Depending on the type of gel used, the removal process can take anywhere from 20 to 40 minutes. Applying regular polish over gel takes only a few minutes.
3. Protect Your Natural Nails
Frequent gel removal may weaken your natural nails if done incorrectly. Since you’re leaving the gel layer intact, your natural nails remain protected underneath while still allowing you to enjoy different colors.
4. Budget-Friendly
Salon gel manicures aren’t cheap. If your gel is still shiny and chip-free, painting over it allows you to enjoy multiple looks without paying for another full manicure.
5. Perfect for Special Occasions
Maybe you normally wear nude nails but want bright red nails for a holiday party. Or perhaps you need elegant black nails for a formal event. Instead of booking another salon appointment, simply apply regular nail polish over your gel manicure and remove it afterward.
What You’ll Need Before You Start
Before applying regular nail polish over gel nails, gather everything you’ll need.
Having the right tools makes the process easier and produces better-looking results.
Prepare Your Gel Nails
The condition of your gel manicure matters.
Only paint over gel nails if they are:
- Smooth
- Fully cured
- Free from lifting
- Not peeling
- Free from major chips
If your gel polish has already started lifting around the edges, it’s better to remove and reapply the gel instead of covering it.
Painting over damaged gel usually creates uneven results.
Choose the Right Regular Nail Polish
Not every nail polish performs the same.
Look for formulas that offer:
- Smooth application
- Good pigmentation
- Fast drying
- Long wear
- Chip resistance
Highly pigmented nail polishes usually require fewer coats, reducing drying time and helping your manicure last longer.
Essential Tools
Gather these supplies before you begin:
- Regular nail polish
- Non-acetone nail polish remover
- Cotton pads
- Nail buffer (optional)
- Nail cleanser or rubbing alcohol
- Lint-free wipes
- High-quality clear top coat
- Cuticle oil
- Nail file
Keeping everything within reach makes the application process much smoother.
How to Prepare Gel Nails Before Painting
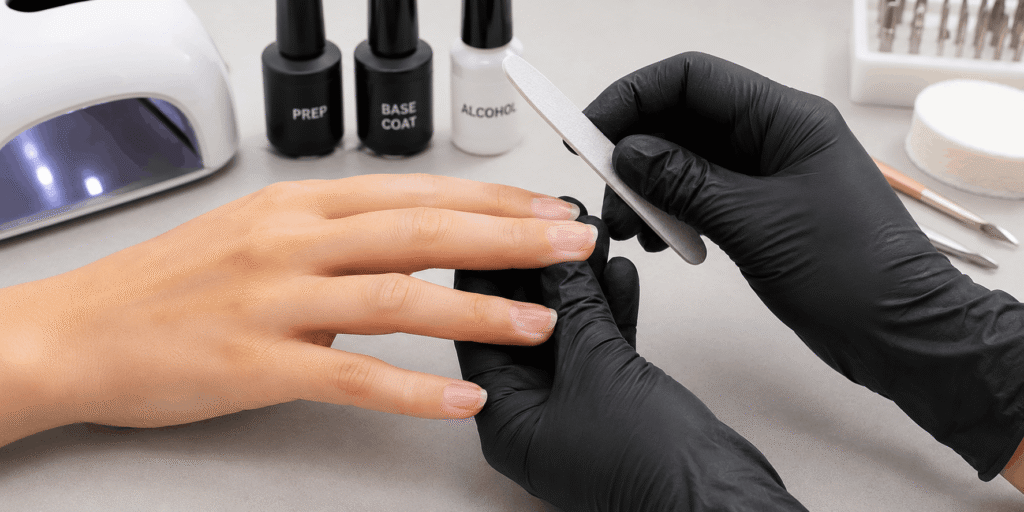
Preparation is often overlooked, but it’s one of the most important steps.
Even the best nail polish won’t last if applied over oily or dirty nails.
Step 1: Wash Your Hands
Start by washing your hands thoroughly with soap and water.
Dry them completely
Step 2: Clean the Gel Surface
Use rubbing alcohol or a nail cleanser to remove:
- Hand lotion
- Natural oils
- Dust
- Dirt
A clean surface allows the polish to adhere more effectively.
Step 3: Check for Damage
Inspect each nail carefully.
Look for:
- Cracks
- Lifting
- Deep chips
- Peeling edges
Minor imperfections can often be smoothed with a gentle buff, but significant lifting should be repaired before applying regular polish.
Step 4: Lightly Buff (Optional)
If your gel top coat is extremely glossy, lightly buffing the surface with a fine-grit buffer can help regular nail polish grip better.
Don’t over-buff.
You’re only removing a little surface shine—not the gel itself.
Step 5: Wipe Again
After buffing, wipe each nail with alcohol once more.
This removes dust and leaves a perfectly clean surface for painting.
How to Apply Nail Polish on Gel Nails
Now comes the fun part.
Following these steps carefully will help you achieve a smooth, professional-looking finish.
Step 1: Apply the First Thin Coat
Apply a thin layer of regular nail polish.
Avoid thick coats, which take longer to dry and are more likely to smudge.
Begin in the center of the nail before painting each side.
Work slowly for even coverage.
Step 2: Let It Dry
Patience is important.
Allow the first coat to dry before adding another.
Rushing this step often causes streaks and bubbling.
Step 3: Apply the Second Coat
Most nail polishes look best after two thin coats.
If you’re using a sheer shade, you may need a third coat for full opacity.
Thin layers almost always produce better results than one thick layer.
Step 4: Seal Everything with a Top Coat
Finish with a high-quality clear top coat.
A top coat helps:
- Increase shine
- Prevent chips
- Protect the color
- Extend wear
- Create a smoother finish
Allow your nails to dry completely before using your hands.
Even if the surface feels dry, the layers underneath may still be soft.
Caring for Your Nails After Application
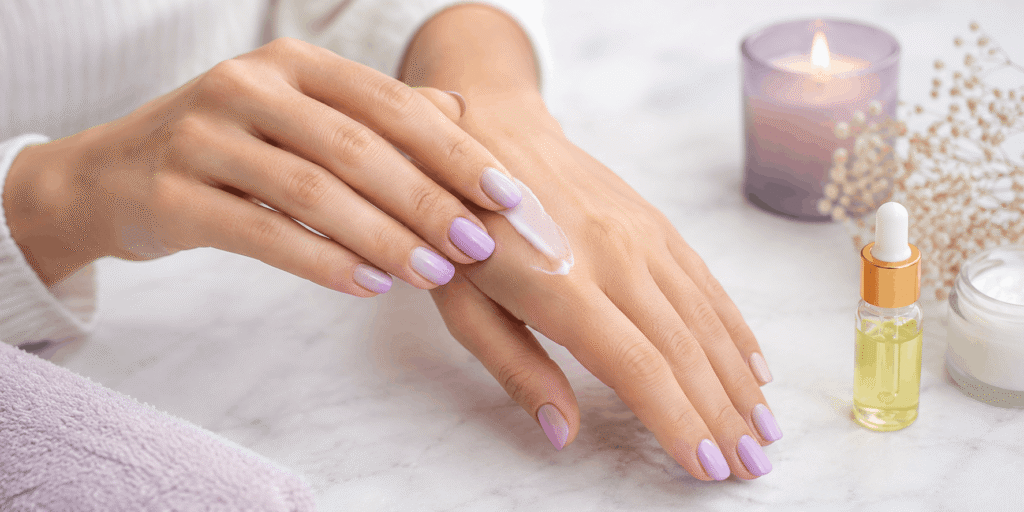
Once your manicure is complete, proper aftercare will help it last much longer.
Simple habits like avoiding harsh chemicals, moisturizing your cuticles daily, and wearing gloves while washing dishes can make a noticeable difference.
Try not to use your nails as tools for opening cans, scratching labels, or peeling stickers, as this can chip the regular polish and even damage the gel underneath.
If you notice minor tip wear after several days, applying another thin layer of top coat can refresh the shine and provide extra protection.
Tips for Long-Lasting Results
Applying regular nail polish on gel nails is simple, but a few professional techniques can make a huge difference in how long your manicure lasts. Whether you’re refreshing an old gel manicure or trying a new color for the weekend, these tips will help keep your nails looking freshly painted for longer.
Start with Healthy Gel Nails
The condition of your gel manicure determines the final result. If your gel polish is lifting, cracked, or peeling, applying regular polish over it won’t solve the problem—it will only make the imperfections more noticeable.
For the smoothest finish, make sure your gel nails are:
- Fully cured
- Smooth and even
- Free from chips
- Not lifting around the edges
- Properly cleaned before painting
A strong foundation always leads to a better-looking manicure.
Apply Thin Coats
One of the biggest mistakes people make is applying thick layers of nail polish.
Thin coats dry faster, look smoother, and are much less likely to bubble or wrinkle. Instead of one heavy coat, apply two or three light coats until you reach your desired color.
This creates a more professional finish while improving durability.
Let Each Coat Dry Completely
Patience is one of the secrets to a flawless manicure.
If you apply the second coat before the first one has dried, you may end up with streaks, dents, or peeling.
Allow each layer to dry thoroughly before moving on to the next step.
Don’t Skip the Top Coat
A clear top coat is more than just a finishing touch.
It helps:
- Lock in color
- Add extra shine
- Protect against chips
- Smooth out the surface
- Increase the life of your manicure
If you’re planning to wear the regular polish for several days, consider applying another thin layer of top coat after two or three days to refresh the shine.
Moisturize Your Cuticles Daily
Healthy cuticles contribute to healthy-looking nails.
Using cuticle oil every day keeps the skin around your nails hydrated and prevents dryness, especially if you wash your hands frequently or use hand sanitizer.
Protect Your Hands
Household cleaning products, hot water, and rough activities can shorten the lifespan of any manicure.
Whenever possible:
- Wear gloves while washing dishes.
- Avoid soaking your hands for long periods.
- Don’t use your nails to open cans or scratch hard surfaces.
Small habits like these can add several extra days to your manicure.
Common Mistakes to Avoid
Even experienced nail lovers occasionally make mistakes that reduce the lifespan of their manicure. Avoiding these common errors will help your nails stay beautiful for longer.
Using Acetone Too Often
Pure acetone removes regular nail polish quickly, but it can also dull or weaken certain gel top coats if used repeatedly.
If you only want to remove the regular polish while keeping the gel underneath, use a non-acetone nail polish remover whenever possible.
Painting Over Damaged Gel
If your gel manicure is lifting, peeling, or cracked, painting over it won’t hide the damage.
Instead, it may trap moisture or make the surface look uneven.
When the gel is no longer in good condition, it’s better to remove and replace it.
Applying Thick Layers
Heavy coats take much longer to dry and are more likely to smudge.
Always build your color gradually using thin, even layers.
Forgetting to Clean the Nail Surface
Natural oils from your fingertips can prevent nail polish from adhering properly.
A quick wipe with rubbing alcohol before painting can dramatically improve wear time.
Rushing the Drying Process
Even if the surface feels dry, the layers underneath may still be soft.
Give your manicure enough time to harden before doing household chores or using your hands extensively.
How to Remove Regular Nail Polish Without Damaging Gel Nails
One of the biggest advantages of painting regular polish over gel nails is that you can change colors without removing the gel itself.
Follow these simple steps to protect your manicure.
Step 1: Choose the Right Remover
Use a non-acetone nail polish remover whenever possible.
It’s gentler on the gel top coat while still removing regular polish effectively.
Step 2: Soak a Cotton Pad
Moisten a cotton pad with remover.
Avoid soaking it excessively.
Step 3: Press, Then Wipe
Hold the cotton pad against your nail for a few seconds.
Then gently wipe away the polish.
Avoid aggressive scrubbing, which can dull the gel surface.
Step 4: Repeat if Needed
Dark colors may require another pass.
Continue using gentle motions until the polish is completely removed.
Step 5: Finish with Cuticle Oil
After removing the polish, wash your hands and apply cuticle oil to restore moisture.
Your original gel manicure should still look smooth and glossy underneath.
Myths vs. Facts
Myth: Regular Nail Polish Will Ruin Gel Nails
Fact: When applied and removed correctly, regular nail polish does not damage a healthy gel manicure.
Myth: You Need to Remove the Gel Every Time You Change Colors
Fact: As long as the gel is in good condition, you can safely paint over it and remove only the regular polish later.
Myth: Regular Polish Won’t Stick to Gel Nails
Fact: A properly cleaned gel surface provides an excellent base for regular nail polish.
Myth: More Coats Mean Better Results
Fact: Multiple thin coats produce a smoother, stronger finish than one thick coat.
Final Thoughts
Using nail polish on gel nails is one of the easiest ways to enjoy fresh nail colors without sacrificing the durability of your gel manicure. Instead of removing perfectly good gel every time you want a new shade, you can simply paint over it with regular nail polish and remove that temporary color whenever you’re ready for a change.
The secret to success is proper preparation. Clean, well-maintained gel nails provide an excellent base for traditional nail polish, while thin coats, a quality top coat, and gentle removal help preserve both the color and the gel underneath. By following the techniques outlined in this guide, you can extend the life of your manicure, experiment with seasonal trends, and save both time and money.
Whether you’re preparing for a wedding, holiday, special event, or simply want to switch up your everyday style, this method offers flexibility without compromising the health of your nails. With the right products and a little patience, achieving a polished, salon-worthy finish at home is easier than ever.
The next time you’re tempted to remove your gel manicure just to wear a different color, remember that you don’t have to start over. A bottle of your favorite regular nail polish might be all you need to give your nails a completely fresh new look.