Cat eye nails have taken the beauty world by storm, becoming one of the most requested manicure trends in salons and on social media. Their signature magnetic shimmer creates a luxurious three-dimensional effect that shifts with the light, making every movement of your hands look elegant and eye-catching. From subtle nude shades to bold galaxy-inspired designs, cat eye nails offer endless possibilities for anyone who loves stylish manicures.
Unlike traditional glitter or chrome nails, cat eye nails use a special magnetic gel polish infused with fine metallic particles. When a magnet is held over the wet polish before curing, the particles move into unique patterns that create the iconic reflective line or velvet-like glow. The result is a sophisticated manicure with remarkable depth and dimension that looks different from every angle. Recent beauty coverage also highlights newer variations like velvet, chrome, gradient, and French cat-eye styles, showing how quickly this trend continues to evolve.
Whether you’re creating your own manicure at home or searching for inspiration before your next salon appointment, this guide covers everything you need to know. You’ll learn how cat eye nails work, the tools you’ll need, step-by-step application instructions, expert tips, common mistakes to avoid, and answers to frequently asked questions before exploring 35 stunning cat eye nail designs.
What Are Cat Eye Nails?
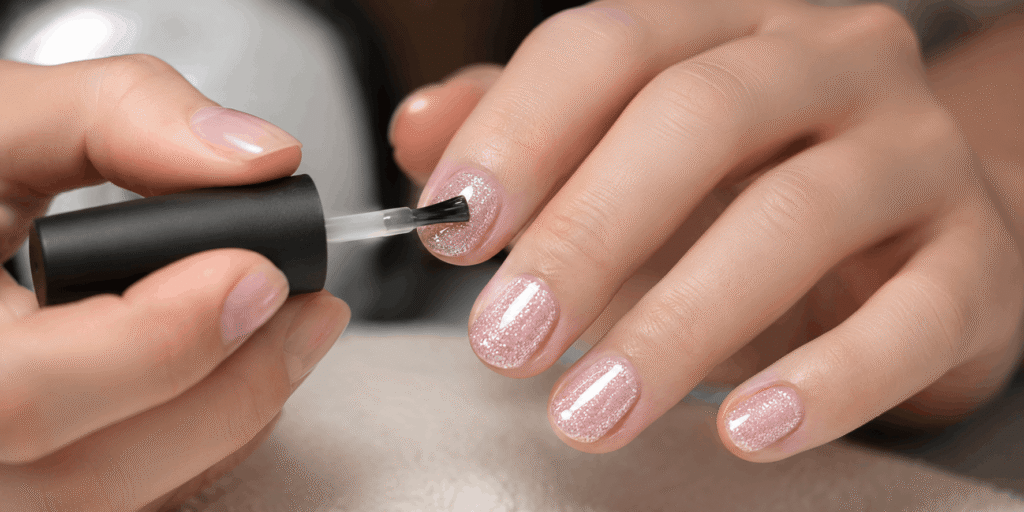
Cat eye nails are a magnetic nail art technique that creates a luminous stripe or velvet-like reflection across the nail. The effect resembles the glowing line seen in a cat’s eye or certain gemstones, which is where the trend gets its name.
The secret lies inside the polish itself. Cat eye gel polish contains microscopic magnetic particles suspended throughout the formula. Before curing under a UV or LED lamp, a small magnet is held close to the wet polish. The magnetic field pulls the particles into different formations, producing shimmering patterns that appear to move as light hits your nails.
Unlike ordinary glitter polish, the shimmer isn’t scattered randomly. Instead, it forms concentrated designs that create depth, movement, and a luxurious optical illusion. Depending on the magnet you use, you can achieve classic diagonal lines, soft velvet finishes, waves, halos, hearts, stars, or modern abstract effects.
Why Are Cat Eye Nails So Popular?
The popularity of cat aye nails continues to grow because they combine elegance with creativity. They work beautifully for both everyday wear and special occasions, offering a unique finish that stands out without looking overdone.
Here are some reasons beauty lovers can’t get enough of them:
- Stunning multidimensional shine
- Unique magnetic effects on every nail
- Suitable for every nail length and shape
- Available in hundreds of colors
- Long-lasting when applied correctly
- Easy to customize with different magnets
- Perfect for every season
- Looks professional even with minimal nail art
Another reason for their popularity is their versatility. Soft pink cat eye nails create a delicate and feminine look, while deep emerald, navy, and burgundy shades offer a glamorous finish perfect for autumn and winter. Neutral champagne shades provide understated elegance, whereas holographic and galaxy-inspired styles make bold fashion statements. Editors and nail artists have noted that today’s cat-eye manicures go well beyond the classic single stripe, incorporating gradient finishes, chrome, and velvet-glass effects.
What You’ll Need
Before you begin, gather all of your supplies. Having everything ready makes the application process much easier and helps create a cleaner finish.
Essential Tools:
- Cat eye gel nail polish
- Gel base coat
- Gel top coat
- UV or LED nail lamp
- Magnetic nail tool
- Nail file
- Buffer block
- Cuticle pusher
- Nail cleanser or rubbing alcohol
- Lint-free wipes
- Cuticle oil
Optional Supplies:
- Black gel polish (for extra depth)
- Nail art brushes
- Dotting tool
- Chrome powder
- Glitter gel
- Nail stickers or gems
Using high-quality products helps produce a stronger magnetic effect and longer-lasting manicure.
How to Do Cat Eye Nails
Although cat eye nails may look complicated, they’re surprisingly beginner-friendly once you understand the process.
Step 1: Prepare Your Nails
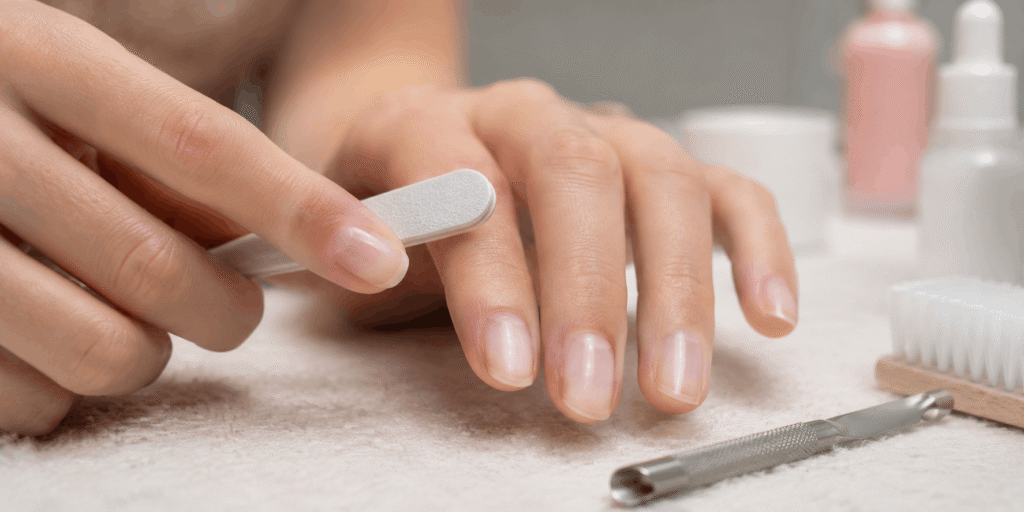
Healthy preparation creates longer-lasting manicures.
Start by removing any old nail polish. Wash and dry your hands thoroughly before filing your nails into your preferred shape.
Popular nail shapes include:
- Almond
- Oval
- Coffin
- Square
- Squoval
- Stiletto
Next, gently push back your cuticles and lightly buff the nail surface to remove excess shine.
Finally, wipe each nail with rubbing alcohol or nail cleanser to remove dust and natural oils.
Step 2: Apply the Base Coat
Apply a thin layer of gel base coat across each nail.
Avoid flooding the cuticles, as this can lead to lifting later.
Cure under your UV or LED lamp according to the manufacturer’s instructions.
The base coat creates a smooth foundation while helping the polish adhere more effectively.
Step 3: Apply the Base Color (Optional)
Many professional nail artists recommend applying black gel polish underneath darker cat eye colors.
Why?
Because black enhances contrast, making the magnetic shimmer appear brighter and more dramatic.
Lighter shades like champagne, pink, or pearl can often be applied directly without a black base, depending on the polish formula.
Cure the base color before moving to the next step.
Step 4: Apply the Cat Eye Gel Polish
Paint one thin, even layer of cat eye gel polish.
Instead of applying polish to every nail at once, work on one nail at a time.
This prevents the polish from settling before you use the magnet.
Apply enough polish to create movement, but avoid thick layers that can wrinkle during curing.
Step 5: Create the Magnetic Effect
This is where the magic happens.
Hold your magnetic tool approximately 2–5 mm above the wet polish without touching it.
Leave it in place for around 10–15 seconds.
You’ll immediately notice the metallic particles shifting into beautiful reflective patterns.
Try experimenting with different magnet positions:
- Straight line
- Diagonal stripe
- Velvet effect
- Halo circle
- Galaxy swirl
- Wave pattern
- Double line
- Heart effect
Small adjustments can dramatically change the final appearance.
Once you’re satisfied, cure the nail immediately to lock the design in place.
Step 6: Apply a Second Coat (Optional)
For extra depth and stronger color, many nail artists recommend adding a second layer.
Repeat the same magnetic process before curing.
This enhances the shimmer and creates a richer three-dimensional appearance.
Step 7: Seal with Top Coat
Apply a glossy gel top coat over each nail.
Cure once again under your lamp.
If your top coat leaves a sticky inhibition layer, gently wipe it away using alcohol and a lint-free wipe.
Your manicure should now have a smooth, glass-like finish with incredible shine.
Step 8: Hydrate Your Cuticles
Finish by massaging cuticle oil into the skin around your nails.
Healthy cuticles not only improve the appearance of your manicure but also help protect your natural nails.
Pro Tips for Perfect Cat Eye Nails
If you want salon-quality results every time, keep these professional tips in mind:
- Shake the bottle well before use to evenly distribute the magnetic particles.
- Apply thin, even coats rather than one thick coat.
- Work one nail at a time.
- Hold the magnet close without touching the polish.
- Cure immediately after creating the design.
- Store magnetic polish upright to maintain consistency.
- Clean your magnet after each manicure.
- Finish with a durable, high-gloss top coat.
- Avoid hot water for the first few hours after application.
- Practice different magnet angles to create unique designs.
Even experienced nail artists experiment with magnet placement because tiny changes in angle can completely transform the final effect.
Common Mistakes to Avoid
Many beginners struggle with cat eye nails simply because of a few avoidable mistakes.
Here are the most common ones:
- Applying polish too thickly
- Waiting too long before using the magnet
- Holding the magnet too far away
- Touching the wet polish with the magnet
- Forgetting to cure immediately
- Skipping the base coat
- Not sealing with a quality top coat
- Rushing the preparation process
Taking your time with each step will give you a smoother finish, a stronger magnetic effect, and a manicure that lasts much longer.
Cat Eye Nail Color Trends for Every Season
Choosing the right shade can completely transform your manicure. Here are some seasonal favorites to inspire your next look.
Spring:
Spring is all about fresh, delicate colors.
Popular spring shades include:
- Baby pink
- Lavender
- Mint green
- Sky blue
- Soft peach
- Milky white
These colors pair beautifully with floral nail art and minimalist designs.
Summer:
Bright, vibrant colors shine during the warmer months.
Summer favorites include:
- Coral
- Turquoise
- Bright blue
- Lemon yellow
- Neon pink
- Holographic finishes
A chrome or velvet cat eye effect adds even more dimension under natural sunlight.
Autumn:
Rich jewel tones become the stars of autumn manicures.
Trending shades include:
- Burgundy
- Emerald
- Burnt orange
- Chocolate brown
- Copper
- Olive green
These colors create warm, luxurious manicures perfect for the season.
Winter:
Winter calls for dramatic and elegant shades.
Popular choices include:
- Black
- Navy
- Deep plum
- Silver
- Champagne gold
- Ruby red
Adding glitter or chrome details creates a glamorous holiday-inspired look.
Nail Care Tips After Your Manicure
Proper aftercare helps your manicure stay beautiful for as long as possible.
Here are a few simple habits that make a big difference:
- Apply cuticle oil every day.
- Wear gloves while washing dishes.
- Avoid using your nails as tools.
- Moisturize your hands regularly.
- Reapply a top coat every few days if using regular polish.
- Avoid prolonged exposure to hot water immediately after your manicure.
- Store nail products in a cool, dry place away from direct sunlight.
Healthy nails provide the best foundation for every manicure.
The Best Cat Eye Nail Designs of 2026
Now that you know how to create the perfect magnetic manicure, it’s time for some inspiration.
From soft and sophisticated styles to bold, eye-catching creations, cat eye nails offer endless possibilities. Whether you’re visiting a salon or recreating these looks at home, there’s a design for every personality, season, and occasion.
Below, you’ll discover 35 stunning cat eye nail ideas, including elegant neutrals, romantic pinks, dramatic black designs, velvet finishes, chrome accents, galaxy-inspired effects, French tips, heart patterns, ombré looks, and many more.
Each design showcases the unique magnetic shimmer that makes cat eye nails one of the biggest beauty trends of 2026.
Whether you love minimalist manicures or glamorous statement nails, these ideas will inspire your next nail appointment.
Final Thoughts
Cat eye nails continue to be one of the most exciting manicure trends because they combine elegance, creativity, and versatility in a single design. Their signature magnetic shimmer creates a captivating three-dimensional effect that instantly elevates any look, whether you prefer soft neutrals, bold jewel tones, or eye-catching chrome finishes.
With the right tools, a little patience, and some practice, achieving beautiful cat eye nails at home is easier than ever. From classic diagonal magnetic lines to trendy velvet, galaxy, French tip, and ombré styles, the possibilities are virtually endless.
As you explore the 35 stunning cat eye nail designs featured below, don’t be afraid to experiment with different colors, magnets, and finishes to create a manicure that’s uniquely yours. Whether you’re getting ready for a special occasion or simply refreshing your everyday style, cat eye nails are a timeless choice that delivers a professional, salon-worthy finish every time.