A bubble braid can turn even the simplest ponytail into a hairstyle that looks like you spent much more time on it than you actually did. But here’s the fun part: you don’t need to know complicated braiding techniques to create those eye-catching bubbles.
With a few hair elastics and the right placement, you can transform a basic ponytail into something playful, trendy, and surprisingly polished. Whether your hair is long, medium-length, straight, wavy, or naturally curly, there are plenty of ways to make the bubble braid work for you.
You can keep it simple for an everyday look, create a sleek version for a more polished outfit, or add ribbons and clips when you want your hairstyle to stand out. You can even change the height, number of bubbles, and placement to create a completely different effect.
The best thing about bubble braids is how customizable they are. Once you understand the basic technique, experimenting becomes part of the fun. From a high bubble ponytail to a cute half-up style, small changes can make the same hairstyle feel brand new.
Ready to see how easy it really is? Let’s explore the bubble braid styles, tips, and variations worth trying.
What You Need Before Creating a Bubble Braid
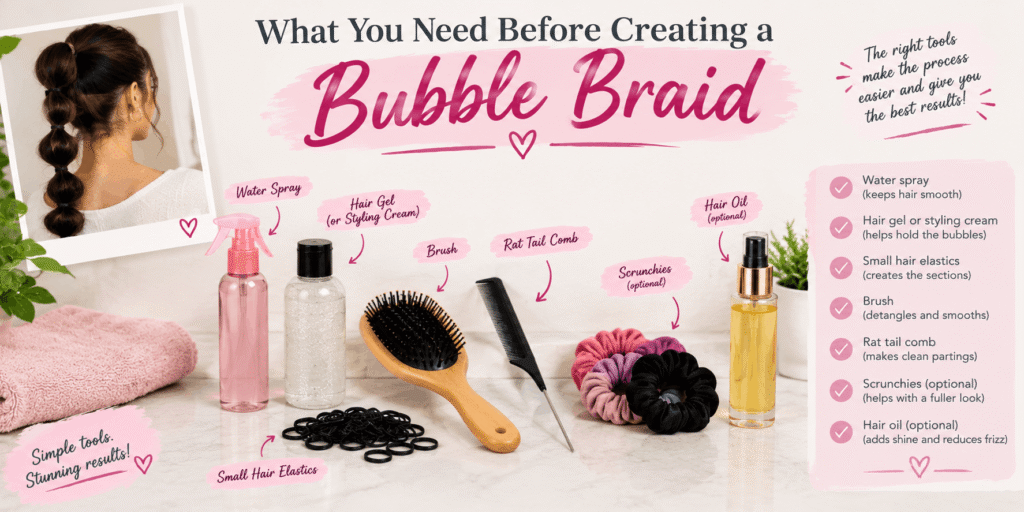
Before starting, gather a few basic hair accessories so you don’t have to stop halfway through the hairstyle.
You’ll generally need a hairbrush or wide-tooth comb, several small hair elastics, and optional accessories such as ribbons, clips, or decorative ties. Choose elastics that are comfortable and suitable for your hair type.
For a softer, more relaxed bubble braid, you can leave some face-framing pieces loose. For a cleaner appearance, smooth the hair back before securing the ponytail.
The number of elastics you need depends on how long and thick your hair is and how many bubbles you want to create.
The Basic Bubble Braid
The classic bubble braid is the easiest place to start because it doesn’t require traditional braiding.
Begin by gathering your hair into a ponytail at the height you prefer. This can be a high ponytail, a middle ponytail, or a low ponytail depending on the look you want.
Secure the ponytail with an elastic. Then place additional elastics down the length of the ponytail, leaving similar spaces between them.
Once the elastics are in place, gently pull the hair between each pair of elastics outward. This creates the rounded sections that give the hairstyle its signature bubble effect.
The trick is to make each bubble look relatively balanced without pulling too aggressively. You can make the bubbles small and neat or larger and softer for a more relaxed finish.
High Bubble Ponytail
A high bubble ponytail creates a playful and energetic look. It works especially well when you want the hairstyle to be noticeable from the front and side.
You can keep the bubbles evenly sized for a polished appearance or make them slightly different for a more effortless style.
Low Bubble Ponytail
A low bubble ponytail has a softer and more understated appearance. It can be especially useful when you want something simple for everyday wear.
Adding a ribbon around the first elastic or placing a small accessory near the base can give the hairstyle an extra detail without making it complicated.
Side Bubble Braid
Instead of keeping the ponytail at the center, gather the hair toward one side. Add elastics down the length and gently expand each section.
This version creates an asymmetrical hairstyle that can look especially cute with loose strands around the face.
Creating a French-Inspired Bubble Braid
A French-inspired bubble braid combines the visual effect of bubble sections with the gradual gathering technique associated with a French braid.
Instead of putting all the hair into one ponytail from the beginning, sections of hair are gradually incorporated as you move down the head.
This can create a more attached-to-the-head appearance before the remaining length becomes a series of bubbles.
Because this version involves more sections and coordination than a basic bubble ponytail, beginners may find it easier to practice the classic version first.
Bubble Braid Ideas for Different Hair Lengths
Bubble braids are particularly versatile because you can adjust the number and size of the bubbles according to your hair length.
Short to Medium Hair
If your hair is not long enough for many bubbles, create fewer, slightly larger sections. A half-up bubble braid can also work when you want to keep some of your hair loose.
Medium-Length Hair
Medium-length hair offers plenty of flexibility. You can try a high ponytail, low bubble ponytail, side version, or half-up style.
Long Hair
Long hair gives you more space to create multiple bubbles. You can experiment with smaller sections for a detailed appearance or larger bubbles for a bold, dramatic effect.
Bubble Braid Variations to Try
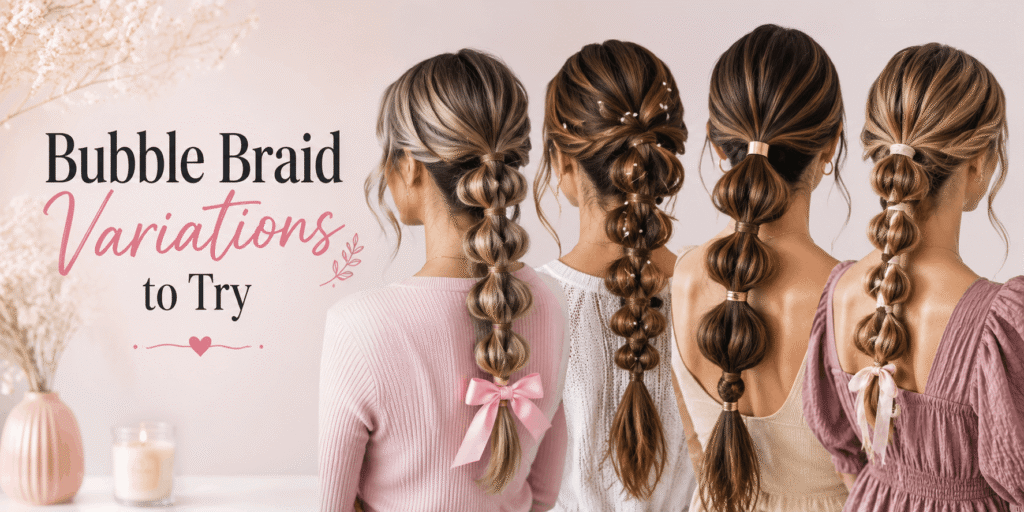
Once you understand the basic technique, small changes can completely transform the hairstyle.
Half-Up Bubble Braid
Instead of gathering all your hair, take the upper section and secure it at the back. Divide the ponytail into bubbles while leaving the remaining hair loose.
This creates a softer hairstyle that combines the structured bubble effect with flowing hair.
Double Bubble Braids
Create two bubble ponytails instead of one. This gives the hairstyle a playful, youthful appearance and can be customized with colorful elastics.
Bubble Braid With Ribbons
Ribbons can add a decorative touch without changing the basic hairstyle. A small ribbon at the base or between selected sections can make a simple bubble braid feel more special.
Bubble Braid With Face-Framing Pieces
Leaving a few strands around the face can soften the overall appearance. This works particularly well with relaxed bubble braids rather than very sleek versions.
Making Your Bubble Braid Look Fuller
The rounded shape of a bubble braid comes from gently loosening the hair between the elastics. Small adjustments can make a noticeable difference.
Rather than trying to make every bubble extremely large, focus on creating a consistent overall shape. If one section looks smaller than the others, you can gently adjust it until the hairstyle feels more balanced.
Hair texture can also affect the final appearance. Wavy or textured hair may naturally create a softer, fuller-looking bubble, while straighter hair can produce a cleaner outline.
Bubble Braids for Different Occasions
A bubble braid doesn’t have to look the same every time.
For school or everyday activities, a simple ponytail with evenly spaced bubbles can be quick and practical. For a party or celebration, decorative elastics, ribbons, or a more elaborate half-up version can make the hairstyle stand out.
For a more polished appearance, keep the sections relatively even and smooth the hair around the crown. For a casual look, allow a few natural pieces to remain loose.
Creative Bubble Braid Styles to Try
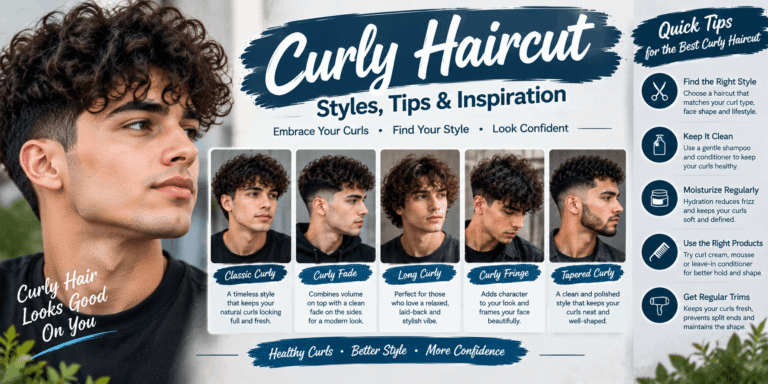
Bubble braids do not have to look exactly the same every time. Small changes in placement, size, and accessories can completely change the final hairstyle. Once you are comfortable with the basic version, you can experiment with different shapes and finishes.
Bubble Braid With a Middle Part
Create a clean middle part and divide the hair into two sections. Turn each section into a bubble braid for a balanced, playful look. This style works especially well when you want something more noticeable than a single ponytail.
Bubble Braids With Loose Waves
Soft waves can give bubble braids a relaxed and textured appearance. The combination of waves and rounded sections creates a fuller-looking hairstyle without making the design complicated.
Bubble Braid With Decorative Clips
Small clips can add a fun finishing touch to a simple bubble braid. Place them between sections or near the base of the hairstyle, keeping the overall look balanced rather than overcrowded.
Sleek Bubble Braid
For a more polished appearance, keep the hair smooth before creating the sections. A sleek base makes each bubble stand out clearly and gives the hairstyle a cleaner finish.
Bubble Braids for Different Hair Textures
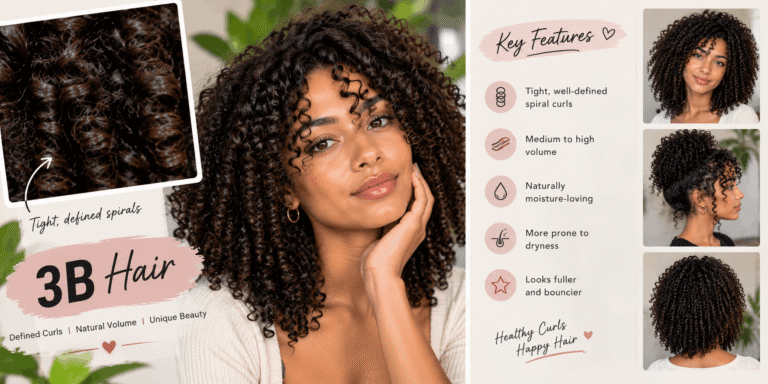
Bubble braids can work with straight, wavy, curly, and textured hair. The finished shape may look different depending on your natural texture, which is part of what makes this hairstyle so versatile.
Straight hair often creates clearly defined bubbles, while wavy hair can give the style a softer appearance. Curly and textured hair can create a more voluminous bubble braid with plenty of natural character.
Instead of trying to make every bubble identical, focus on keeping the overall shape balanced. A little natural variation can actually make the hairstyle look more effortless.
How to Make Bubble Braids Look Neater
The key to a polished bubble braid is consistency. Try to keep the spaces between your elastics reasonably similar so the sections look intentional.
After securing each section, gently adjust the surrounding hair rather than pulling too aggressively. This helps create rounded bubbles while keeping the hairstyle comfortable.
You can also check the braid from different angles once it is finished. Sometimes a small adjustment to one section is all you need to make the whole hairstyle look more even.
Common Bubble Braid Mistakes to Avoid
One common mistake is making the sections completely different sizes. While they do not need to be perfect, large differences can make the braid look uneven.
Another mistake is pulling the bubbles too much. Over-loosening can make the sections lose their shape, while leaving them too tight can make the hairstyle look flat.
Using uncomfortable or overly tight hair ties can also make the style unpleasant to wear. Choose accessories that hold the hair securely without creating unnecessary tension.
Finally, do not worry if your first attempt is not perfect. Bubble braids become much easier once you understand how much hair to loosen and how much space to leave between each section.
Bubble Braids That Match Your Personal Style
A bubble braid can look cute, sporty, elegant, playful, or casual depending on how you finish it. Neutral accessories can create a simple everyday hairstyle, while ribbons and decorative clips can make it feel more festive.
You can also change the placement. A high ponytail feels energetic, a low bubble braid looks more relaxed, and a side version can give the hairstyle a completely different shape.
The best part is that you do not need a complicated technique to make the style your own. Changing just one detail can create a fresh version.
How to Keep Your Bubble Braid Looking Fresh
If you plan to wear the hairstyle for several hours, check the sections occasionally and gently adjust any areas that have become loose.
Avoid constantly pulling or rearranging the bubbles because too much handling can make the hairstyle lose its shape. When you are finished wearing it, remove the accessories gently and give your hair a comfortable break.
For future attempts, pay attention to which section sizes and accessories worked best for your hair. This makes it easier to recreate your favorite version.
Why Bubble Braids Are So Easy to Customize
Bubble braids are popular because the basic idea stays simple while the final appearance can be completely different. You can change the number of bubbles, placement, accessories, texture, or overall size.
That means you can create a hairstyle that feels unique without learning a completely new braiding technique every time. Start with the basic version, then gradually experiment with the details you like most.
Final Thoughts
Bubble braids prove that a hairstyle does not need complicated braiding techniques to look creative. With a few simple sections, comfortable elastics, and a little experimentation, you can create everything from a casual everyday ponytail to a more playful statement style.
Start with the basic bubble braid, then experiment with placement, texture, accessories, and bubble size until you find the version that feels right for you.